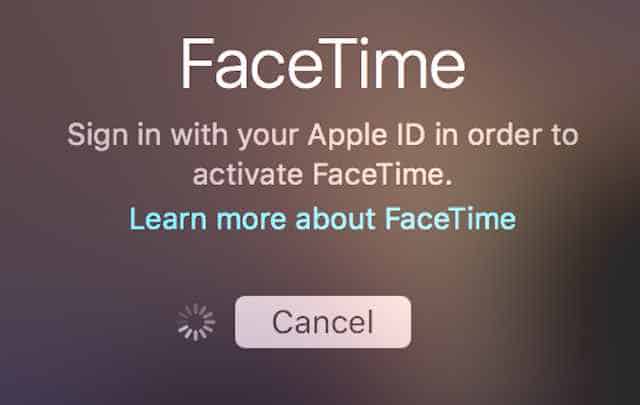
How do I activate FaceTime after an Unsuccessful activation?

FaceTime is built into iOS devices, just like iMessage. But, you must first activate it to use it. It is not activated by default. Activating FaceTime is easy; you can do it from the Settings app. Most of the times, it gets activated within a day without any hassles. But, there are times, albeit rare, when the activation is unsuccessful.

FaceTime allows you to make video calls to other FaceTime users. It offers unmatchable video clarity if you are on a good wireless network. This is why it doesn’t come as a surprise when users are eager to get it activated after an unsuccessful activation attempts. In this article, we will discuss the common activation issues and answer your question ‘How do I activate FaceTime after an unsuccessful activation.’ You need to download facetime for pc click the given link.
[toc]
Basic Troubleshooting
FaceTime activation issues are rare, but when they occur they could be very frustrating. After all, it is probably one of the features you bought your iPhone for. Thankfully, in most cases, this issue can be resolved through basic troubleshooting. Let’s take a look at them one by one.
-
Has it been 24 hours since you activated? Alright! This is an important thing we need to address. FaceTime activation may take up to 24 hours. Usually, it is quick and doesn’t take more than a few minutes. But, according to Apple, if it has been less than 24 hours and it is not activated yet, there is no need to worry. On the other hand, if it has already been more than 24 hours, you may want to begin some advanced troubleshooting.
-
Wi-Fi connectivity: First of all, make sure you are connected to the internet. You may not be able to launch FaceTime even if it is successfully activated without the proper internet connection. You can open Safari and try to access a website. If the browser doesn’t load the website or says you are ‘offline’ it means you are not connected to the internet. Check your Wi-Fi connection. If you need to troubleshoot internet, you may contact your ISP.
-
SMS for iPhone: If you are an iPhone user, you will need to make sure SMS service is enabled in order to activate your phone number on which you wish to use FaceTime. If are not able to receive SMS messages, we would recommend you to contact the mobile carrier company.
-
Reactivate FaceTime: What we mean to say is that you could deactivate FaceTime and activate it again. Turning the app off and reactivating it often refreshes it and thus fixes the issues. All you need to do is go to Settings and then select FaceTime. Now, turn the service off and back ON again. Now go back to home screen and launch FaceTime.
-
Remove Restrictions: There is a list of restrictions to which you could add an app and disable it temporarily. You will want to make sure that FaceTime is not added to that list. Open Settings from home screen and go to General. Select Restrictions and check if FaceTime is not on the list. If it is there, remove it.
-
Restart your device: If none of the above troubleshooting methods work, you could try to restart your iPhone or whichever iOS device you are using. Restarting the device will refresh the operating system, background processes, as well as all the apps. Rebooting, often referred to as power cycling, is an effective solution that takes care of majority of device issues. Turn the device off and keep it off for about 2-3 minutes. Restart it by pressing on the power button. Now try to turn FaceTime ON again from Settings.
-
Sign in to your Apple ID again: Applications like FaceTime and iMessage are associated to your Apple ID. As you may already know, you are signed in to your iOS device with your Apple ID. Signing out of the Apple ID and signing back in with the same ID may resolve the FaceTime activation issue. However, this is more like a stab in the dark. There is no guarantee that it will work. It doesn’t cost you a thing. So, why not try. You might get lucky.
Advanced Troubleshooting
Tried all the basics and nothing seems to work? Well, the problem is apparently more serious than it originally seemed. But, don’t worry. There is always a fix (until there is not). Here are some of the advanced troubleshooting methods you would like to look at to get this taken care of:
Update to latest compatible iOS version:
There is a better firmware version out there, your iDevice supports it, but you don’t have it. This could cause some problems some times. So, it makes sense to update your device immediately. Back up your device using iTunes or iCloud. Plug the device to the power source and make sure it is connected to Wi-Fi. Now open Settings and select General. Tap ‘Software Update.’ If there is an update available for your device, it will appear here. You can follow the onscreen instructions to update the firmware.
Factory reset the device
This is an extreme measure and take it only when you really have to. And before you reset the device to factory settings, make sure you have taken the back up using iTunes or iCloud. Resetting the device will restore it to the factory settings. It will be like new. You will need to sign in with your Apple ID and password again. You will lose all the data, pictures, videos etc. This is why we asked you to back up the device. In order to factory reset, open Settings app from the home screen. Now select General and scroll down until you see ‘Reset’ option. The reset screen has various ‘Reset’ options. But, we are talking about cleaning the device and wiping everything away. This is why we will choose ‘Erase all Content and Settings’.
If the advanced troubleshooting also does not work, we would recommend you to take your device to the Apple Service Centre.


