How to Recover Deleted Files in Windows 10?

Losing data in Windows 10 or any other similar operating system is not quite uncommon. But, it can be quite annoying when that happens. Have you encountered any issues with your Windows 10 operating system and found the data lost?
Using powerful data recovery software can be a blessing in disguise in such situations. A free data recovery software should ideally get the work done if you haven’t lost too many files, and the scenario isn’t much bleak.
We will guide you on how to recover deleted files in Windows 10 using EaseUS Data recovery in this post.
What makes EaseUS data recovery Wizard an excellent option to recover your files?
When you compare EaseUS Data Recovery Wizard, you will find it offering a wide range of benefits and features unseen in most other competing data recovery tools. It has been rated to be one of the easy to use and powerful data recovery tools.
Some factors that make it the Go To solution for recovering your data can include
- You have a better chance of recovering your files, thanks to the robust recovery algorithm
- It handles all the data loss scenarios such as accidental deletions, software crashes, system crashes and even format errors.
- No backup of previous versions required
- A well-designed interface with clearly understood steps.
All those factors and other outstanding features make it one of the reliable tools ever for recovering your data.
How to recover deleted data in Windows 10?
Having assumed you have downloaded and installed EaseUS data recovery, let us check out the best options for how to recover deleted files in Windows 10.
Step 1 – Launch EaseUS Data Recovery Wizard
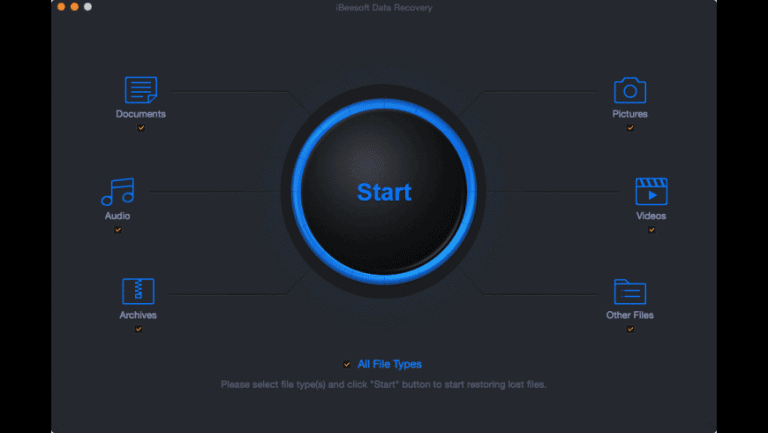
Launch your EaseUS Data Recovery Wizard. The first screen will provide you access to the drives and other folders on your computer.

Step 2 – Pick the drive or folder you want to scan
If you are aware which folder and drive have the files you want to recover; you can specifically choose the particular location to scan. If you aren’t, however, you will need to look for the entire drive or even computer. Simply hover your cursor on the drive or folder and click on Scan.

Step 3 – Wait till the software scans your system.
EaseUS will instantly begin scanning your drive. During the process of scanning, if you find the file you have been looking for, you can stop further scanning process and recover your file.
You can even wait till the process is over if you want to look for other files that can be recovered.

Step 4 – Recover your files
Once the scanning is complete, or as soon as you stop a scan, the files found are arranged in separate organised folders. You can decide to recover the entire folder or open the folder to recover a particular file. Select the folder or files you want to recover, and click on Recover Now.

You can even preview the file before you can recover it. This can be an excellent option to avoid recovering a file that you do not want to. Simply double click on a file to open it in a preview window. You can recover it from the same window quickly by clicking on Recover.

The ease with which EaseUS Data recovery wizard works should be a clear indication of the simple interface and ease of working with the software. Simply put, if you are checking out the best data recovery software free download this should be something that offers you an efficient solution ever.
A few other options you can use with EaseUS Data Recovery Wizard
The software lets you filter out the specific files you want to recover.
Instead of having to move through an entire library of the recoverable files across multiple file types, it would be a good idea to filter out the exact file type you want to recover.

If you know the file name, you can even check for the exact file from the search filed just beside the filtering option in the above image.
The Concluding thoughts
Well, that should show you how effective and efficient the tool has been in providing you with an exceptional service quality in recovering your lost files. The ability of the software in recovering the data that is lost in every data loss scenario can thus prove to be a great option in almost every respect.
If you are on the free or trial version, you can recover up to 2 GB worth of files. If your recoverable data exceeds 2 GB, you can decide to go for the Pro version. If your needs do not go beyond 2 GB, it would be enough to go with the free version.


