7 Tips for Making Awesome Drone Videos
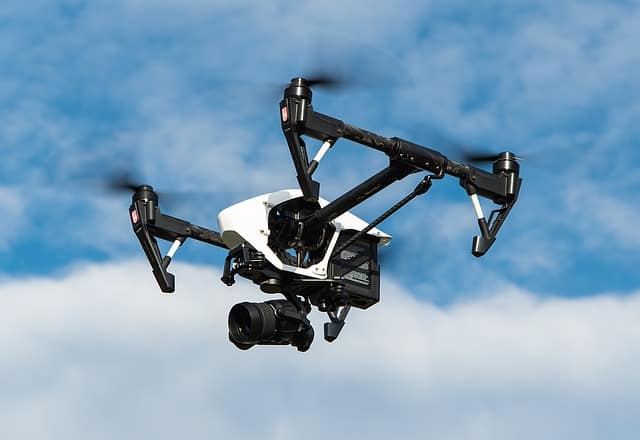
Making high-quality drone videos isn’t as simple as just getting a good drone – though this helps a lot, of course.
Here are some great tips to help you produce epic drone videos that you can show off to your friends, family, or even potential clients.
Know Your Location
Every video has a setting and the better you know your setting, the better your video tends to be. But you don’t have to become an explorer just to accomplish this. You can take advantage of technologies like Google Maps.
Google Maps can help you get acquainted with the various landscapes that make up your location, and also the buildings and roads, as well as distance from your current location.
At the very least, information like this will help you know how much equipment you need, what you have to carry, and for how long it will take to get to your location.
If daylight and the position of the sun are important for your footage, information like this could be useful in making sure you are at the right place at the right time.
Choose Your Drone
Choosing your drone is all about choosing which equipment to take with you on your trip towards the setting for your drone video.
Now, if you have only one drone then this choice should be easy. But if you have a wide array of drones to choose from, then you can make a choice based on the video you have in mind and the distance between your current location and the setting for your video.
For example, you may choose a drone that is portable but sports a less powerful camera. On the other hand, you may choose to prioritize camera quality over everything else and therefore choose a camera that has an HD camera but is heavy. Heavy drones would also be a better choice if your video location is windy because these devices are more stable in the air. Your choice depends on what your vision for the video is and your knowledge of the location.
If you’re looking for a suitable drone, there’s a great list on Dronesvilla.com.
Spatial Awareness
This has to do with the way your drone interacts with its surroundings while you are filming. The first thing you want to do before you start filming is to turn off your ‘obstacle avoidance” if your drone has such a feature.
Obstacle avoidance is an important feature that helps prevent your drone from crashing into objects it encounters on its way. But it could be a nuisance when you try filming with this feature activated since it makes close-ups all but impossible.
You know those zoomed-in shots that really bring a video to life?
Well if you want to capture those then turn your drone’s obstacle avoidance off.
This is also an important tip to take note of if the location you are shooting your video in happens to be a crowded one. If you were in a wood, for example, or a crowded urban area, obstacle avoidance would really interfere with the way your drone moves within your environment and interacts with it.
Master the Basic Video Shot Types
Now, it is possible to create an entire course on drone videography which will take months to cover. But at the same time, there are three basic shots which if you master, you will be able to make drone videos that stand out 100% of the time.
The first video shot consists of moving forward and backward in a straight line in a tight, confined space. This shot feels cinematic and really pulls a viewer in because it gives that sense of going through an environment.
The second video shot is the reveal shot, and it is so-called because it consists of coming up above or around an object to reveal the layout, surroundings, or people that are the main focus or subject of the shot. It’s a shot meant to create wonder and inspire interest, among other things, in your audience. It is also very difficult to do using a drone that still has obstacle avoidance turned on.
The third shot involves taking advantage of the intelligent tracking features of your drone to steadily follow a subject and film them. The subject could be a person, a vehicle, or an object.
Leave Camera Settings in Manual Mode
You want to deactivate automatic camera settings and activate manual mode.
Using manual mode gives you much better control over the image and video quality, and helps you better determine what needs to be prioritized during the post-production phase.
There’s a good Stack Exchange discussion on this subject here.
Use 2:35 Letterboxing
Using 2:35 letterboxing on your film helps give it that cinematic look which eludes so many drone videographers. 2:35 letterboxing also gives you the ability to move the footage up or down to endow your video with an extra dynamic reveal.
Choose the Right Soundtrack
The final cherry on top of your epic video will be the right music playing in the background. You don’t want just any type of music playing in the background; what you want is music that adds to your footage rather than subtracts from it.
Typically, aerial footage consists of long, slow shots, so the music you choose should reflect that and add to that experience for the audience.

