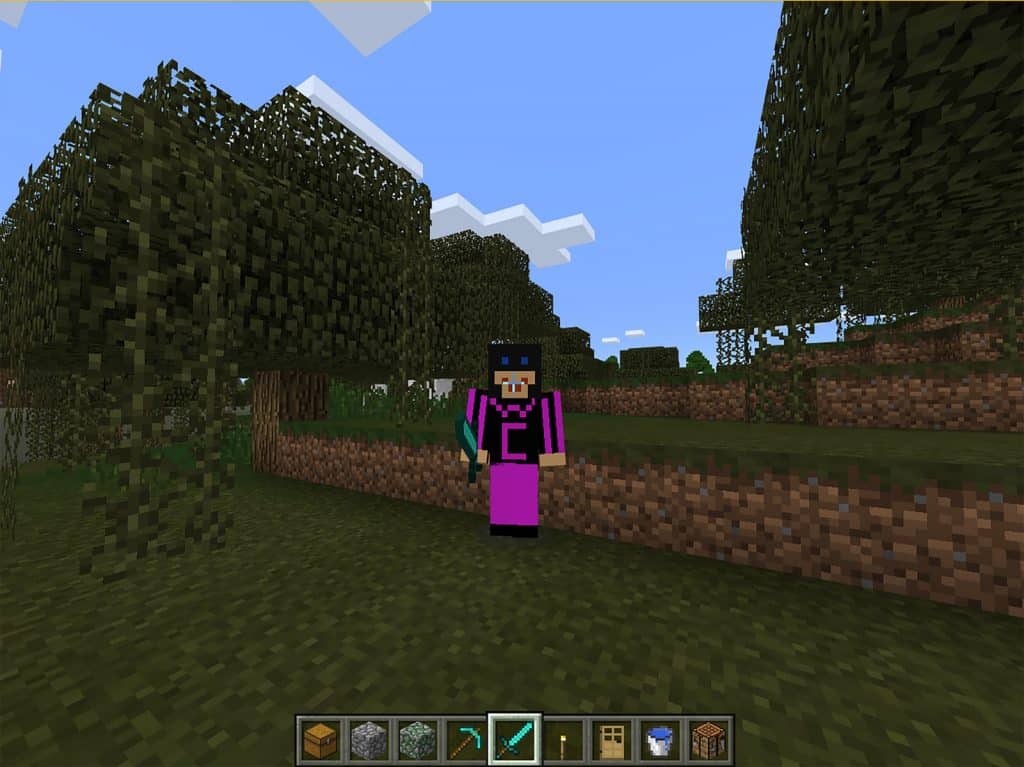
How to get custom skins in Minecraft
One of the coolest features in the latest edition of Minecraft is the player’s ability to turn into whoever they would like to play as. You can upload practically any skin and then customize it to an extent you would want to! A Minecraft skin can be created by you, or they can be downloaded from a list of some already pre-made designs.

Here’s an instruction on how to get custom skins in Minecraft and if you are interested, come on in!
How to create your own skin?
Wondering how to customize your Minecraft character? The answer is right here – you can go to any website that has an excellent skin editor. Just search for one online – it’s a fairly easy process! With an editor, you can create pretty much whatever skin you want.
Step 1. Launch your web browser from the Start menu, desktop, or a taskbar.
Step 2. Navigate to the skin editor website.
Step 3. Click to select a color from the color wheel palette.
Step 4. Click the squares on the player model in order to apply the appropriate color.
Step 5. Click on the eraser button.
Step 6. Click any colored-in squares that you want to wipe off.
Step 7. Click and drag a blank space beside your model to rotate it.
Step 8. Once you are happy with the skin you have created, Click the ‘Download’ button to download your new skin on to your computer.
Step 9. Click ‘Save’ and you are done!
How to download a pre-made skin
There are numerous websites that have a ton of pre-made skins that you can download and afterwards upload them into your game of Minecraft. Here’s a step-by-step on how to download and then install a premade skin.
Step 1. Launch your web browser of choice from the Start menu, desktop, or taskbar on the device you play on.
Step 2. Navigate to your website of choice. We recommend you going to https://skins4minecraft.com/, but it is completely up to you!
Step 3. Click on a skin that attracts your attention.
Step 4. Click on the ‘Download’ button. Make sure that the file you are downloading is in the PNG format.
Step 5. Click ‘Save’. Please remember the folder you have downloaded your new skin into.
How to upload a skin into the game of Minecraft
Now that you are done with either creating a new skin or downloading a pre-made one, you can proceed to upload it into Minecraft.
Step 1. Launch Minecraft from your desktop, Start menu, or taskbar.
Step 2. Click the hanger icon which is located beneath the avatar of your character.
Step 3. Click the blank model, which is beneath the ‘Default’ field.
Step 4. Click ‘Choose New Skin’.
Step 5. Navigate to your Downloads folder or the one you have saved your custom skin to. Step 6. Click on the skin you want to upload.
Step 7. Click on the ‘Open’ button.
Step 8. Click the model type that you think looks best.
Step 9. Click ‘Confirm Skin’.
Congrats! You now have a fully new custom-designed skin for your Minecraft player.
Don’t forget to let us know which skin you have either created or picked!


